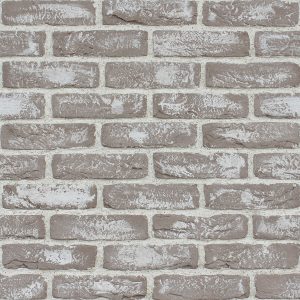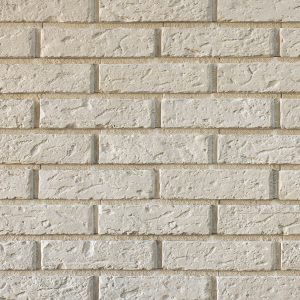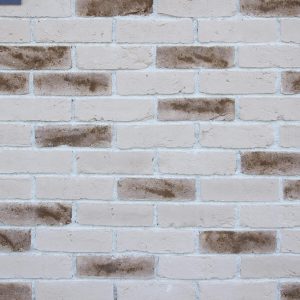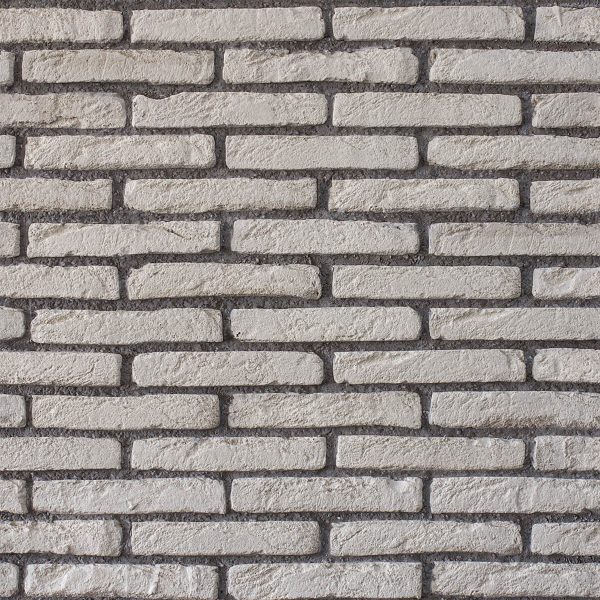


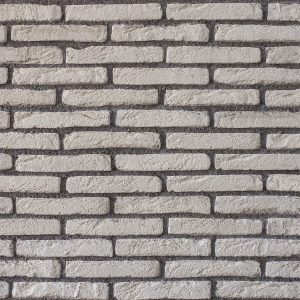

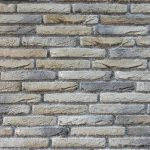
Cement-based exposed brick, perfect for creating visual contrasts in modern klinker designs.

- Description
- Technical Specifications
- User Guide
- Product information request
Description
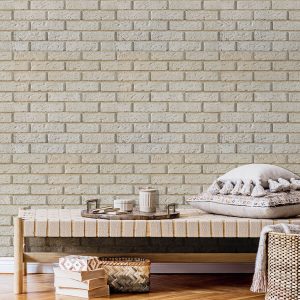
The epitome of sophistication in the form of a sleek white brick, Ringo White opens the door to endless possibilities. From classic to avant-garde, this brick is your blank canvas for design innovation.
Technical Specifications
Product Data
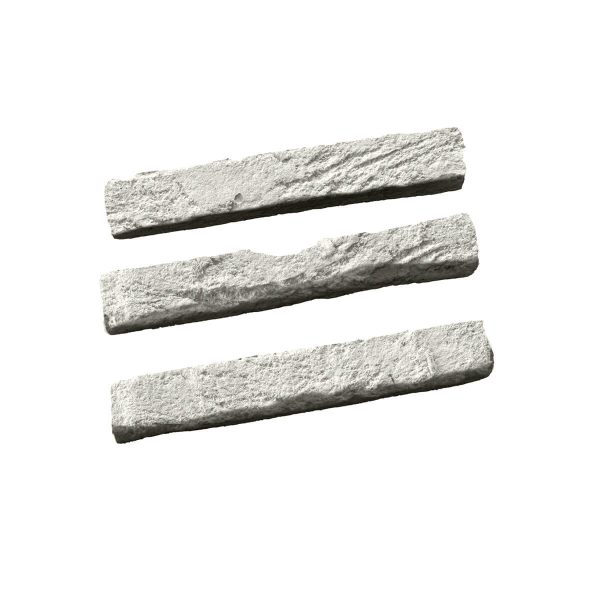
| Shape | Soft rectangle  |
|---|---|
| Dimensions | 24.7 – 26.2 x 4 – 4.4 cm |
| Thickness | 2.0 cm |
| Color | White |
| Material | Cement based |
| Reaction to fire | |
| M Classification |
Packaging
| Pieces per box | 46 |
|---|---|
| Coverage per box | 0.60 sqm ±5% with grout joint 1.0 cm / 0.49 sqm ±5% without grout joint |
| Weight per box | 18.2 kg |
| Packaging type | Recycled cardboard box – 80% |
Installation
| Installation style | |
|---|---|
| Recommended joint width | 1.0 cm |
| Requires adhesive | Yes |
| Average weight/sqm | 28.27kg ±5% - Calculated with a joint width of 1.0 cm. The weight of the joint is not included in the calculation! |
Recommendations and specifications
Installation surfaces: Plaster, plasterboard, bricks, concrete, concrete bricks, plastered/rendered surfaces, wood, ceramic tiles, depending on the specifications of the used adhesive. The surface on which the product is installed must be in good condition, dry, dust free, stable, and protected against water infiltration.
Exceptions: The products should not be installed on the floor, ceiling, on surfaces or in areas with high humidity, or exposed to temperatures higher than 70 °C.
The back of the tiles must be dry and free of dust, oils, or other non-stick substances.
Product storage
The product must be stored in covered spaces that are protected from humidity or precipitation.
Installation instructions
- Draw level lines for every second row of product, taking into account the joint width indicated in the “Recommended accessories and average consumption” table.
- Preselect the decorative tiles and mix them from different boxes.
- Cut the tiles to the desired size, if necessary.
- Smooth the edges and brush the back of the decorative tiles with a wire brush for better adhesion. Make sure the back of the tiles is clean and dust free.
- Apply the adequate adhesive for the support, on both the installation surface and the back of the tiles.
- Apply the decorative tiles to the installation surface, spaced according to the joint width indicated.
- Fill the joints with grout, 24 hours after installation.
- Smooth the semi-dry grout using a joint spatula and gently brush the joint surface.
Maintenance
- Use only PH-neutral detergent solutions for cleaning the tiles.
- Clean the tiles with a vacuum cleaner but avoid direct contact of the nozzle with the wall cladding.
- Do not clean the tiles with high-pressure devices, abrasive materials, or excessive force. Otherwise, you may risk damaging them.
- For deep stains, seek professional advice. Avoid using non-specific cleaning products.
- Consult the producer’s product range for specific cleaning and protection solutions.