


- Description
- Technical Specifications
- User Guide
- Product information request
Description
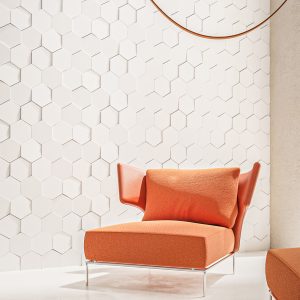
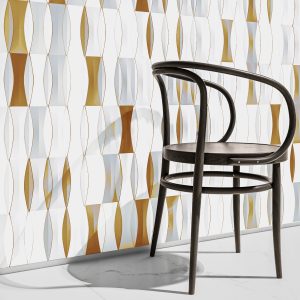
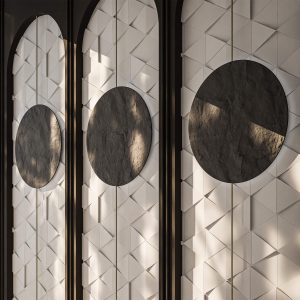
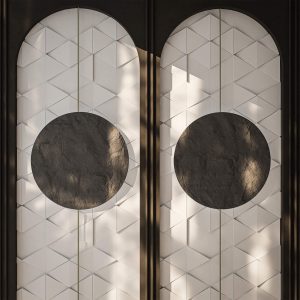
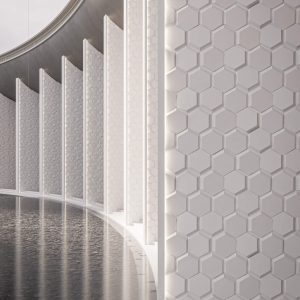
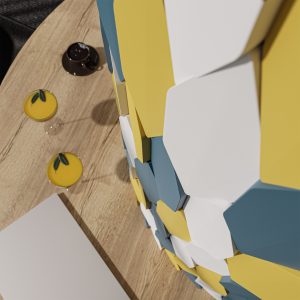
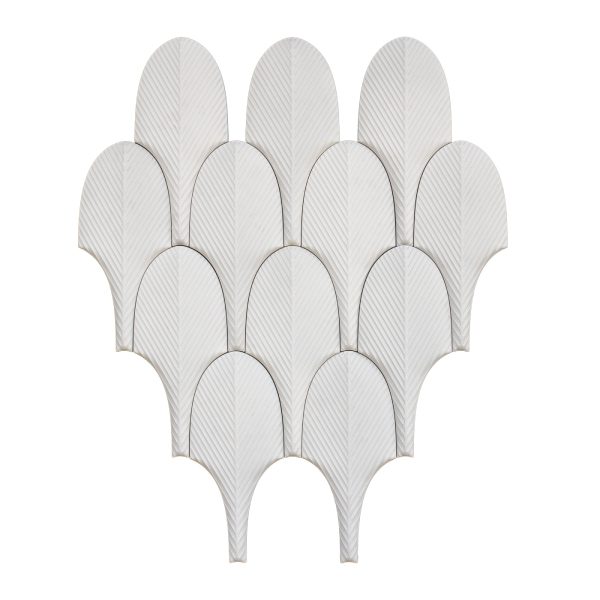
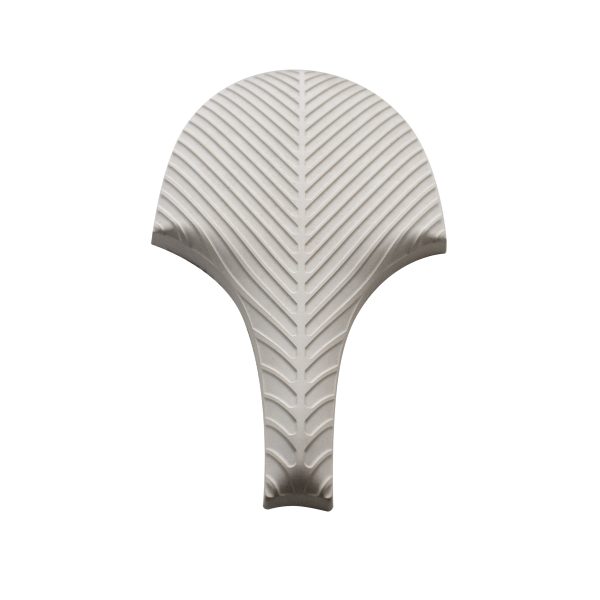
Aero transcends the ordinary, offering a dynamic design element that exudes elegance in every curve. Inspired by the fluidity and grace of aerodynamic forms, Aero is a testament to the beauty of motion captured in stone. Its sleek contours and innovative design provide a sense of forward momentum, making it the perfect choice for those seeking a touch of contemporary sophistication in their spaces.
Technical Specifications
Product Data
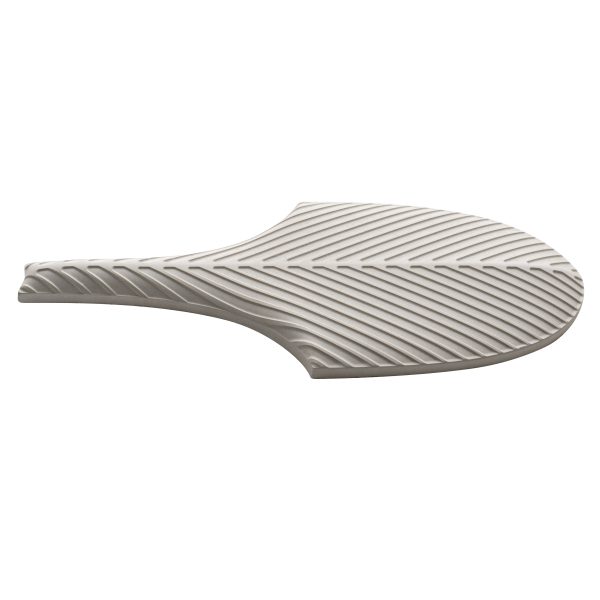
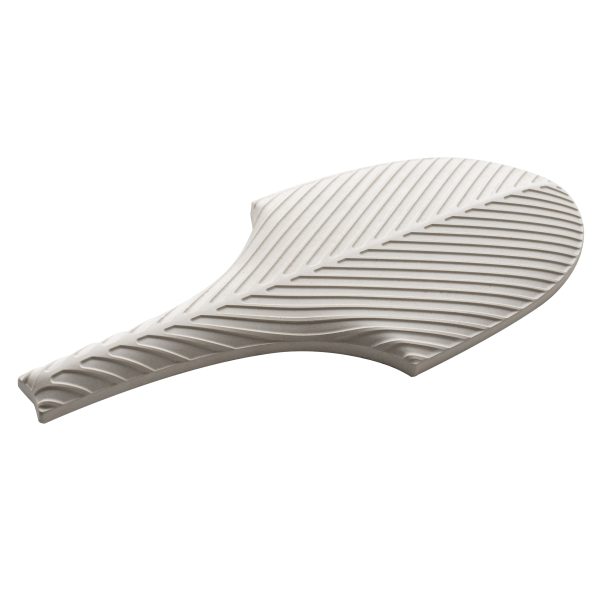
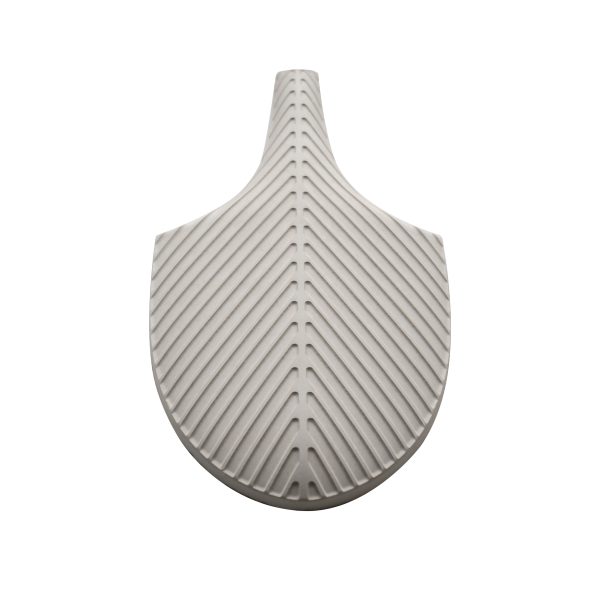
| Shape | Petal  |
|---|---|
| Dimensions | 13.3 x 29.5 cm |
| Thickness | 0.8 – 1.6 cm |
| Color | White |
| Material | Gypum based composite |
| Reaction to fire | |
| M Classification |
Packaging
| Pieces per box | 20 |
|---|---|
| Coverage per box | 0.48 sqm ±5% |
| Weight per box | 6.5 kg |
| Packaging type | Recycled cardboard box – 80% |
Installation
| Installation style | |
|---|---|
| Recommended joint width | 0 cm |
| Requires adhesive | Yes |
| Average weight/sqm | 12.57kg ±5% |
Recommendations and specifications
Installation surfaces: Plaster, plasterboard, bricks, concrete, concrete bricks, plastered/rendered surfaces, wood, ceramic tiles, depending on the specifications of the used adhesive. The surface on which the product is installed must be in good condition, dry, dust free, stable, and protected against water infiltration.
Exceptions: The products should not be installed on the floor, ceiling, on surfaces or in areas with high humidity, on surfaces or in areas which are frequently in contact with water or exposed to temperatures higher than 40 °C.
The back of the tiles must be dry and free of dust, oils, or other non-stick substances.
Product storage
The product must be stored in covered spaces that are protected from humidity or precipitation.
Installation instructions
- Plan an installation layout for the area where the cladding will be installed. To avoid unaesthetic cuts, you can start the installation from the most visible area (e.g., the upper part of the wall or the edge of a piece of furniture). Mark the position of the first tile.
- Cut the tiles to the desired size, if necessary.
- Smooth the edges and make sure the back of the tiles is clean and dust free.
- Apply the adequate adhesive for the support on the back of the tiles:
a. For paste adhesive (D2), apply a uniform layer using a small notched trowel (4 mm teeth), leaving a 1-2 cm gap around the edges.
b. In case of installation on surfaces occasionally exposed to water splashes, it is recommended to apply a continuous layer of paste-type adhesive (D2) on both the tile and on the substrate.
c. For universal mounting adhesive, from a tube, apply a continuous cord at 1-2 cm from the edge and, depending on the panel size, a few additional adhesive dots in the center. - Apply the tile approximately 0.5 – 1 cm away from its final position. With a left-right sliding motion, using medium, constant, and uniform pressure, spread the adhesive and gently slide the panel into its final position.
Maintenance
- Use only PH-neutral detergent solutions for cleaning the tiles.
- Clean the tiles with a vacuum cleaner but avoid direct contact of the nozzle with the wall cladding.
- Do not clean the tiles with high-pressure devices, abrasive materials, or excessive force. Otherwise, you may risk damaging them.
- In case of fine scratches, gently dab with a damp cloth and even out the color.
- Minor surface stains can be removed by gently wiping the pieces using a damp microfiber cloth.
- For deep stains, seek professional advice. Avoid using non-specific cleaning products.
- Consult the producer’s product range for specific cleaning and protection solutions.
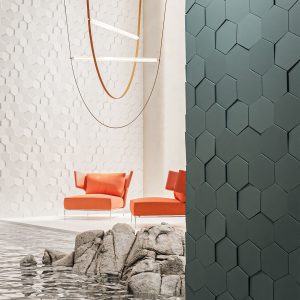
Installation Advice
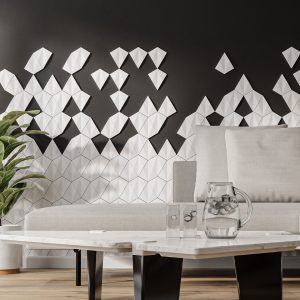
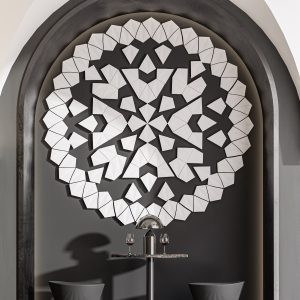
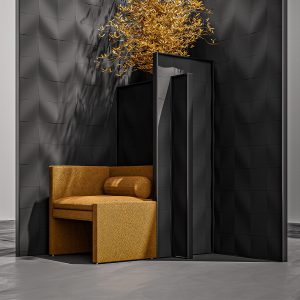
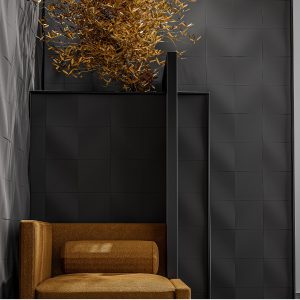
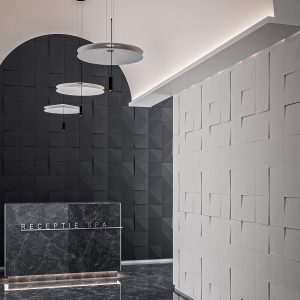
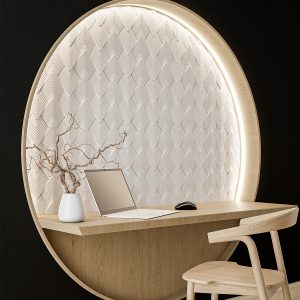
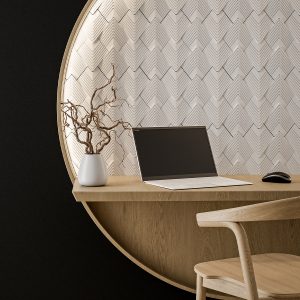
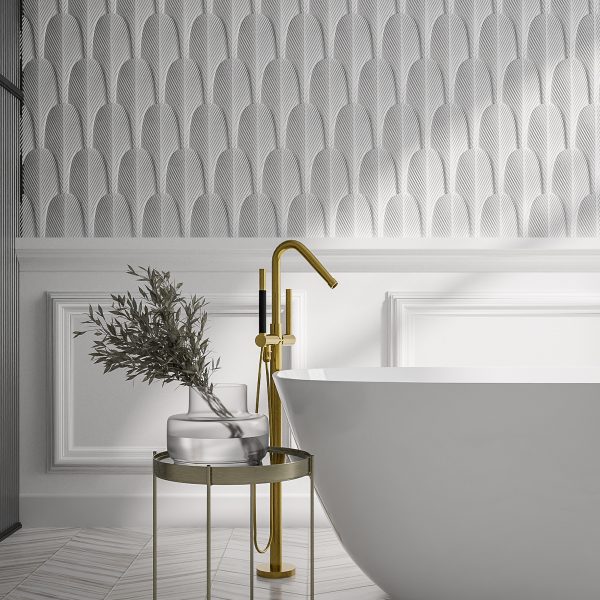
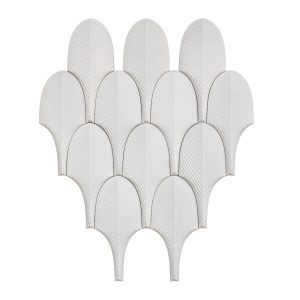
The product can be installed in various ways: covering the entire wall, creating a gradient effect towards a scattered layout, or as an accent element in the center of the wall.
The product allows for multiple installation configurations, with all pieces oriented in the same direction, either upwards or downwards, as shown in the diagrams below.
For easier installation, we recommend fixing the first piece, then continuing either diagonally from it, or after placing the first two columns in parallel, continue column by column. Some installation examples:
In the case of a scattered layout, try to fix each new tile at the intersection of two existing tiles – this helps to secure the tile correctly in place. Additionally, you can use an unglued panel as a temporary guide to easily find the correct position of the next one.
For precise installation, use a vertical guide line (for example, marked with a laser level) and align the pieces to it using the central column of each panel as a reference.
The panels are painted white but can be customized in any color using water-based paints, preferably applied by spraying. If using multiple colors, it is recommended to paint the panels individually before installation.
To avoid stains during installation, handle with care or use disposable gloves.
For precise cuts, we recommend using a fine-toothed saw or a hacksaw for metal/plastic. Alternatively, you can design the installation layout to only use entire tiles.