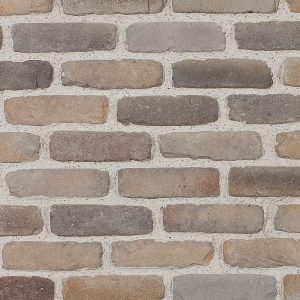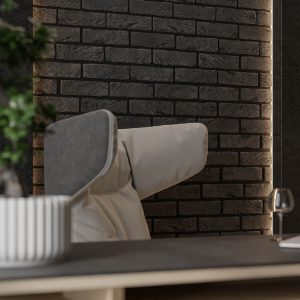


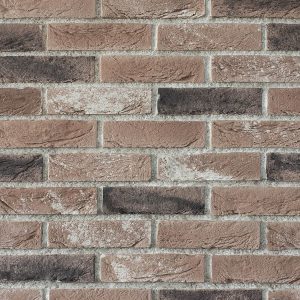


Plaster brick with a klinker look, ideal for adding depth to modern spaces.


- Description
- Technical Specifications
- User Guide
- Product information request
Description
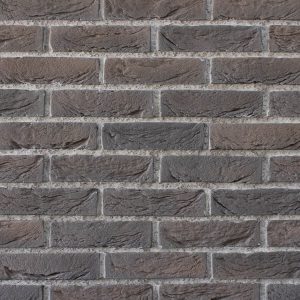
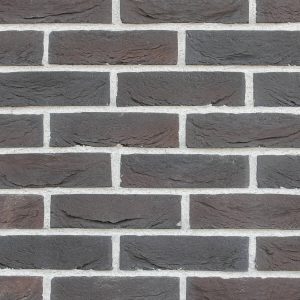
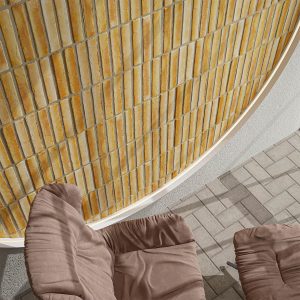
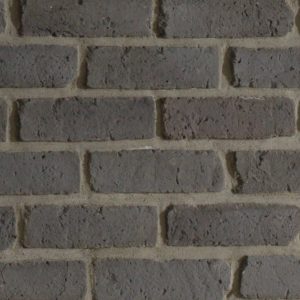
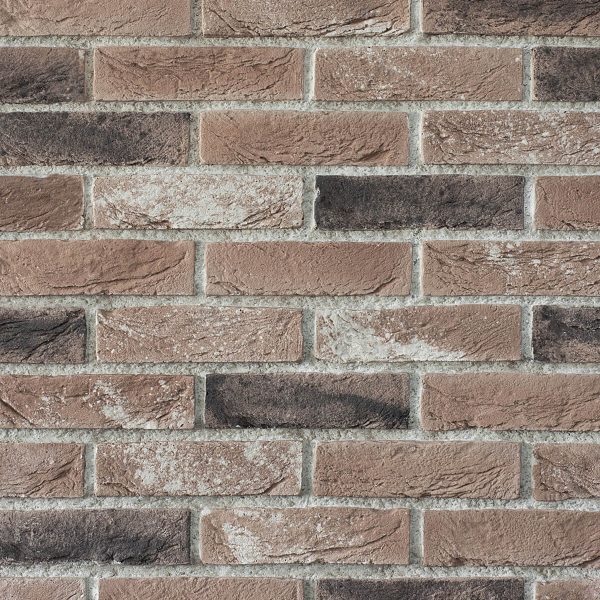
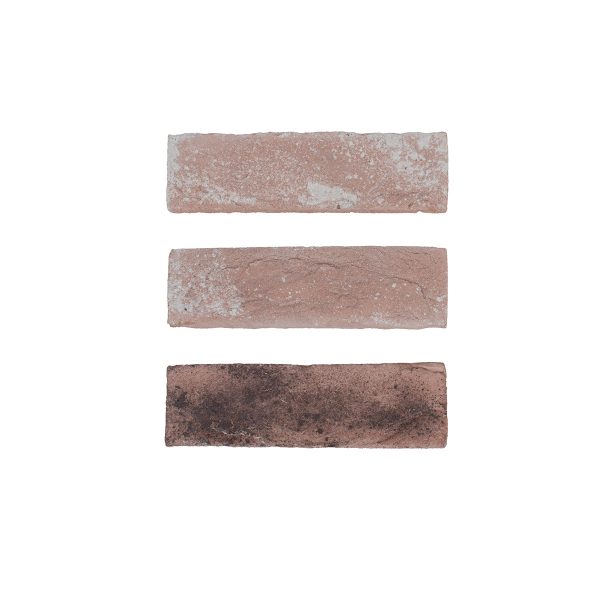
Imperial Salmon is a captivating decorative brick slip that harmonizes soft salmon shades with subtle textural intricacies. Its elegant, warm tones and refined finish bring a unique, luxurious touch to any space, blending classic charm with contemporary flair. Ideal for creating inviting, stylish environments in both residential and commercial settings.
Technical Specifications
Product Data
| Shape | Soft rectangle  |
|---|---|
| Dimensions | 21.2 x 6.0 cm |
| Thickness | 1.5 cm |
| Color | Multicolor, Salmon, White |
| Material | Gypsum based |
| Reaction to fire | |
| M Classification |
Packaging
| Pieces per box | 63 |
|---|---|
| Coverage per box | 1.00 sqm ±5% with grout joint 1.0 cm / 0.8 sqm ±5% without grout joint |
| Weight per box | 9.2 kg |
| Packaging type | Recycled cardboard box – 80% |
Installation
| Installation style | |
|---|---|
| Recommended joint width | 1.0 cm |
| Requires adhesive | Yes |
| Average weight/sqm | 8.36kg ±5% - Calculated with a joint width of 1.0 cm. The weight of the joint is not included in the calculation! |
Allowed surfaces for installation
Plaster, plasterboard, bricks, concrete, concrete bricks, plastered/rendered surfaces, wood, ceramic tiles.
The surface on which the products are installed must be in good condition, dry, stable and protected against water infiltration.
Exceptions: The products should not be installed on the floor, ceiling, on surfaces or in areas with high humidity, or at temperatures higher than 40 °C.
Product storage
The product is stored only in spaces that are protected from moisture or bad weather.
Installation instructions
- Draw level lines.
- Preselect the decorative tiles.
- Smooth the edges and scrape the back of the decorative tiles for better adhesion.
- Cut the tiles to the desired size, if necessary.
- Apply the adequate adhesive for the support to the back of the tiles.
- Apply the decorative tiles to the wall, with a distance between them for the joint grout application.
- Fill the joints with grout to three quarters of the joint’s depth.
- Smooth the grout.
Maintenance
- Use only PH-neutral detergent solutions for cleaning the tiles.
- Clean the tiles with a vacuum cleaner but avoid direct contact of the nozzle with the tiles.
- Do not clean the tiles with high-pressure devices. Otherwise, you may risk damaging them.
- For deep stains seek professional advice. Avoid using non-specific cleaning products.